Introduction to Part Remover tool
Written by Jesper Tingvall, Product Expert, Simplygon
Disclaimer: The code in this post is written using version 10.4.304.0 of Simplygon. If you encounter this post at a later date, some of the API calls might have changed. However, the core concepts should still remain valid.
Introduction
In this blog post, we will look at how to use the part remover in Simplygon to remove small disconnected parts from a 3D model. We will also look at how to combine part removal with reduction to get better results when reducing models that consist of several disconnected parts.
Prerequisites
This example will use the Simplygon Blender integration, but the same concepts can be applied to all other integrations of the Simplygon API.
Problem to solve
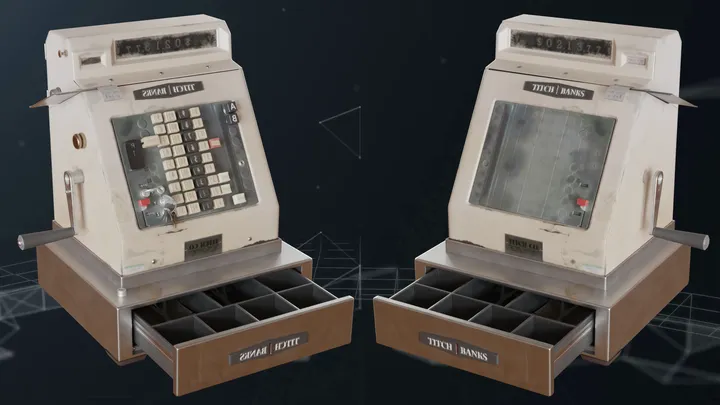
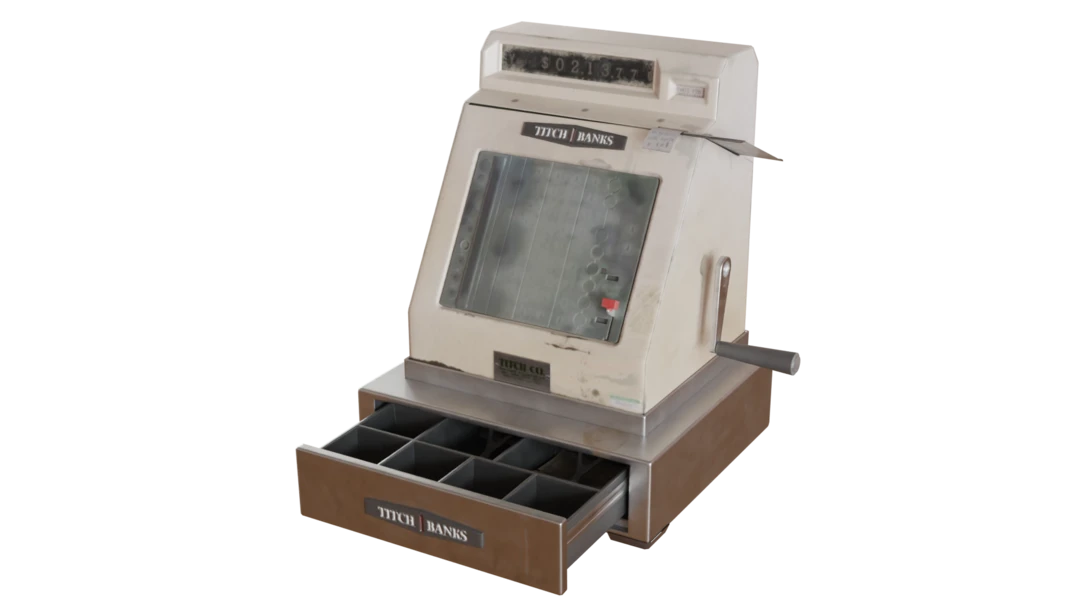
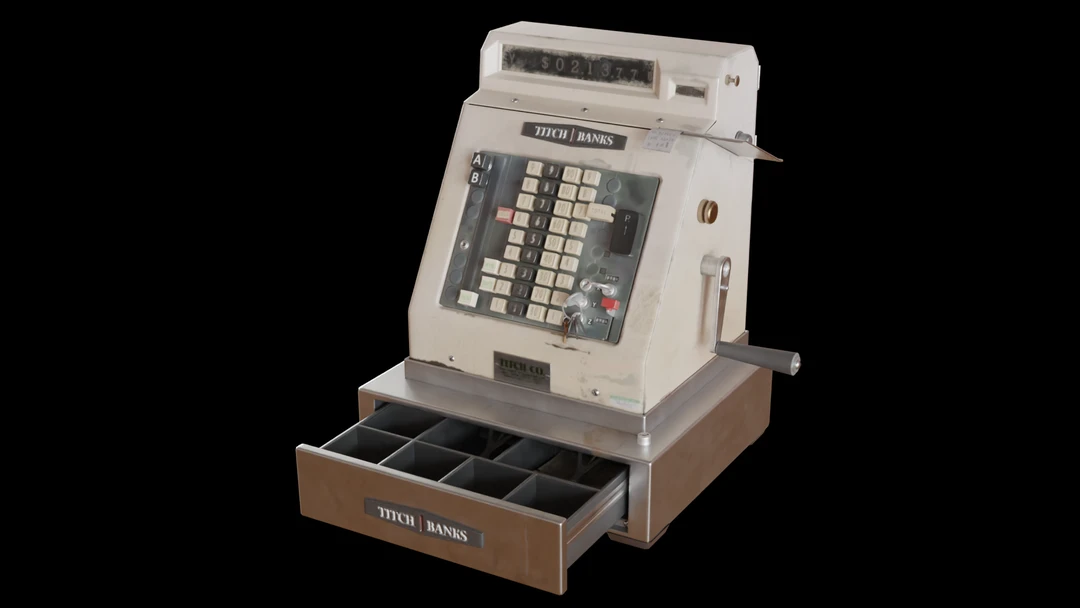
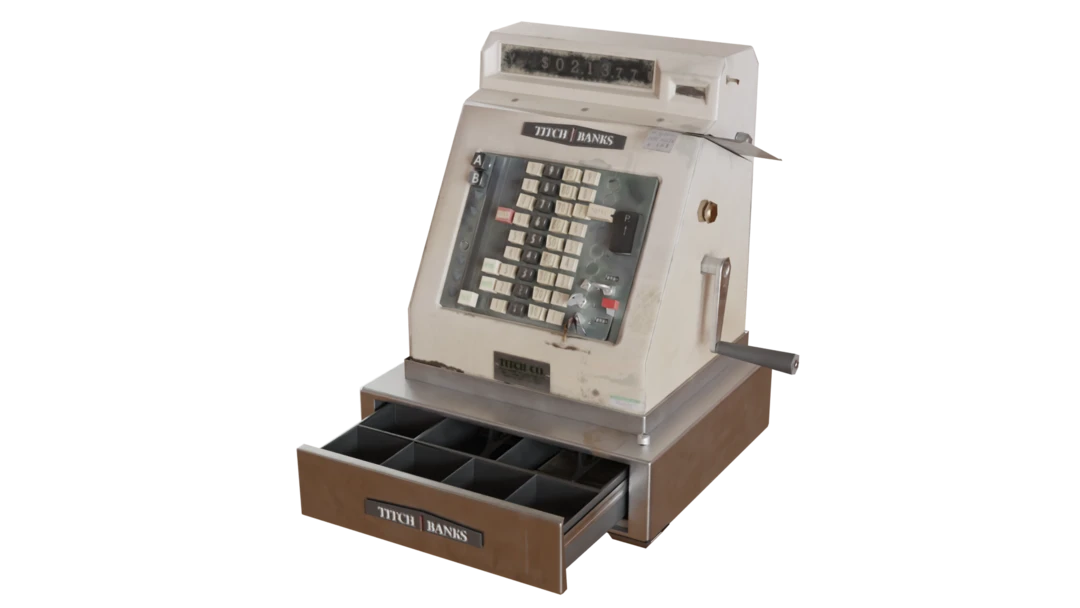
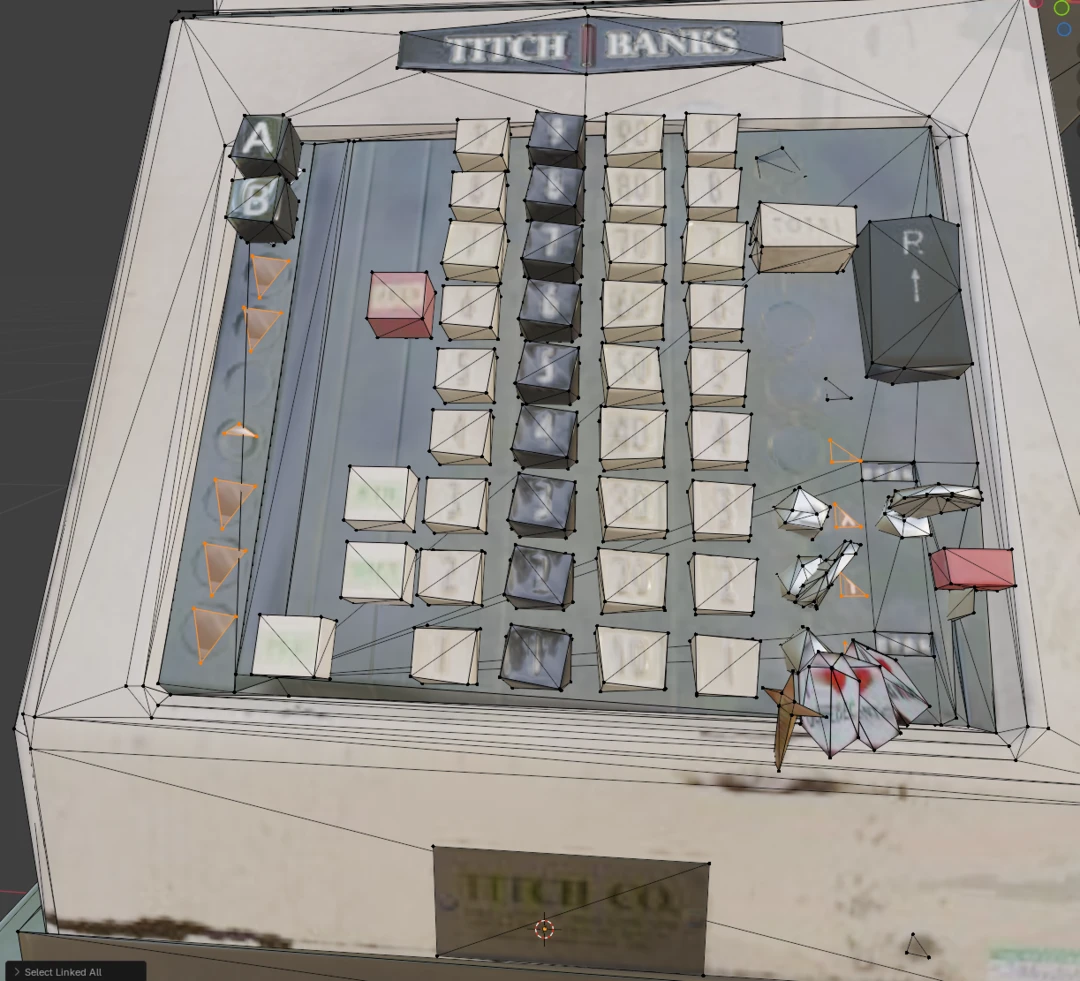
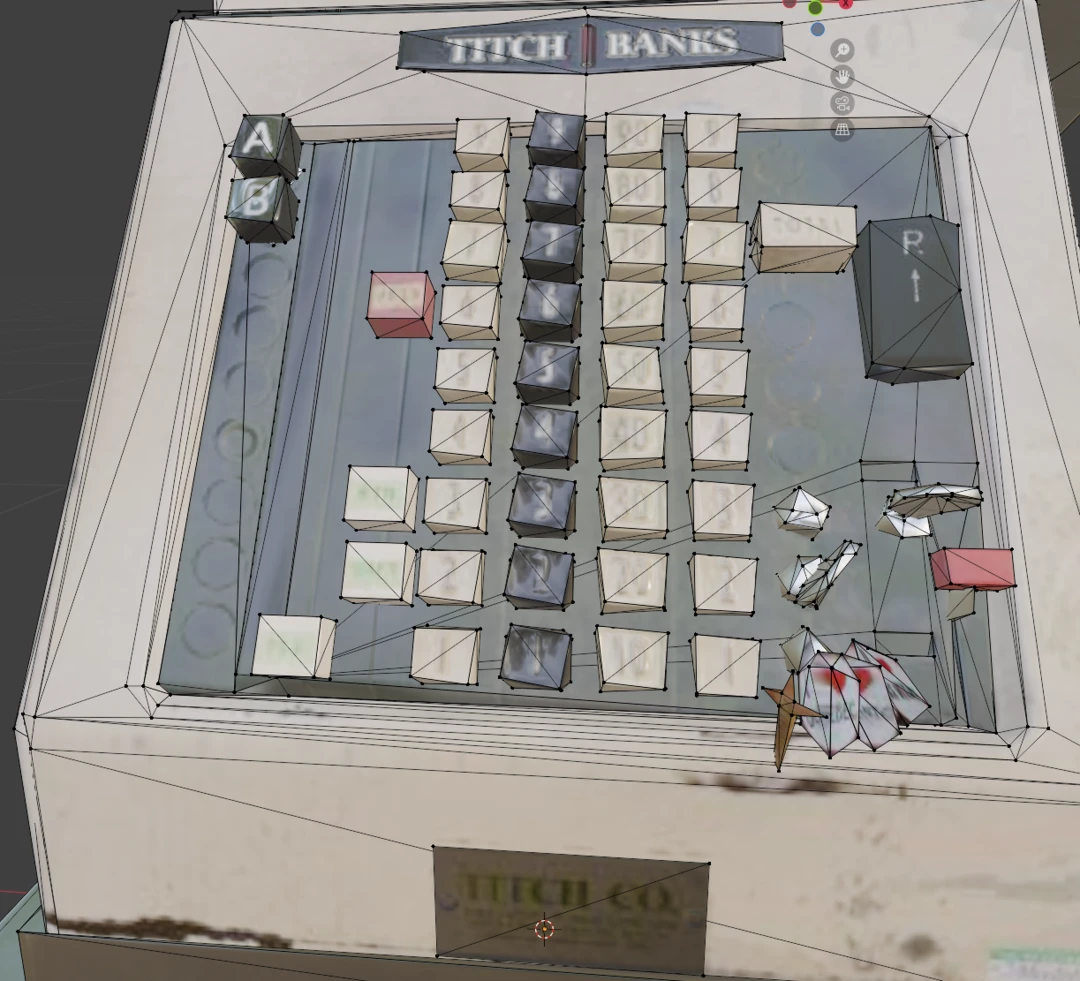
The asset we will use to demonstrate the part remover is this cash register model from PolyHaven.
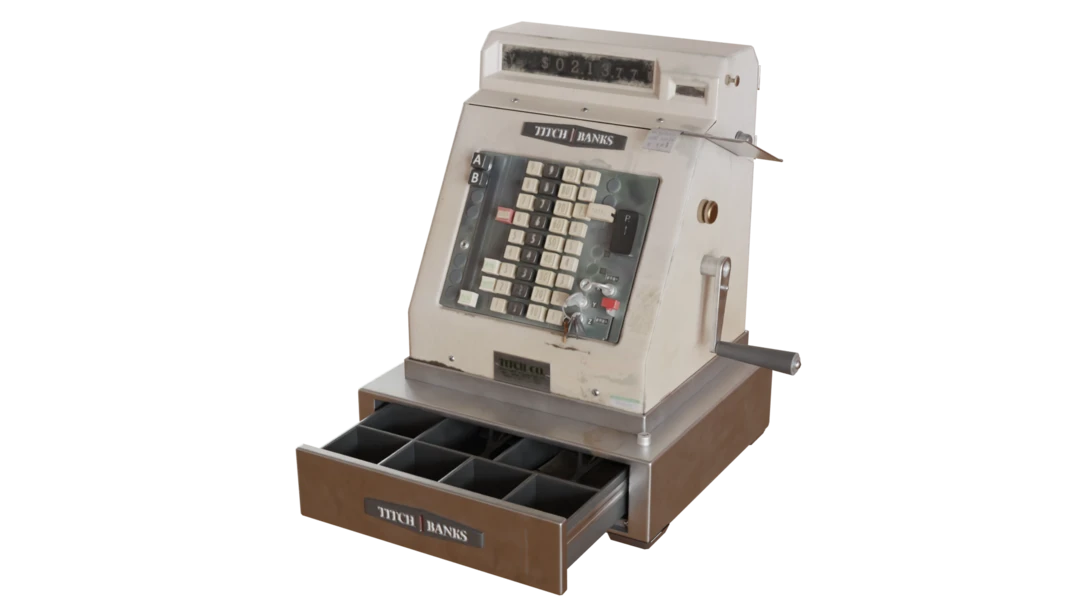
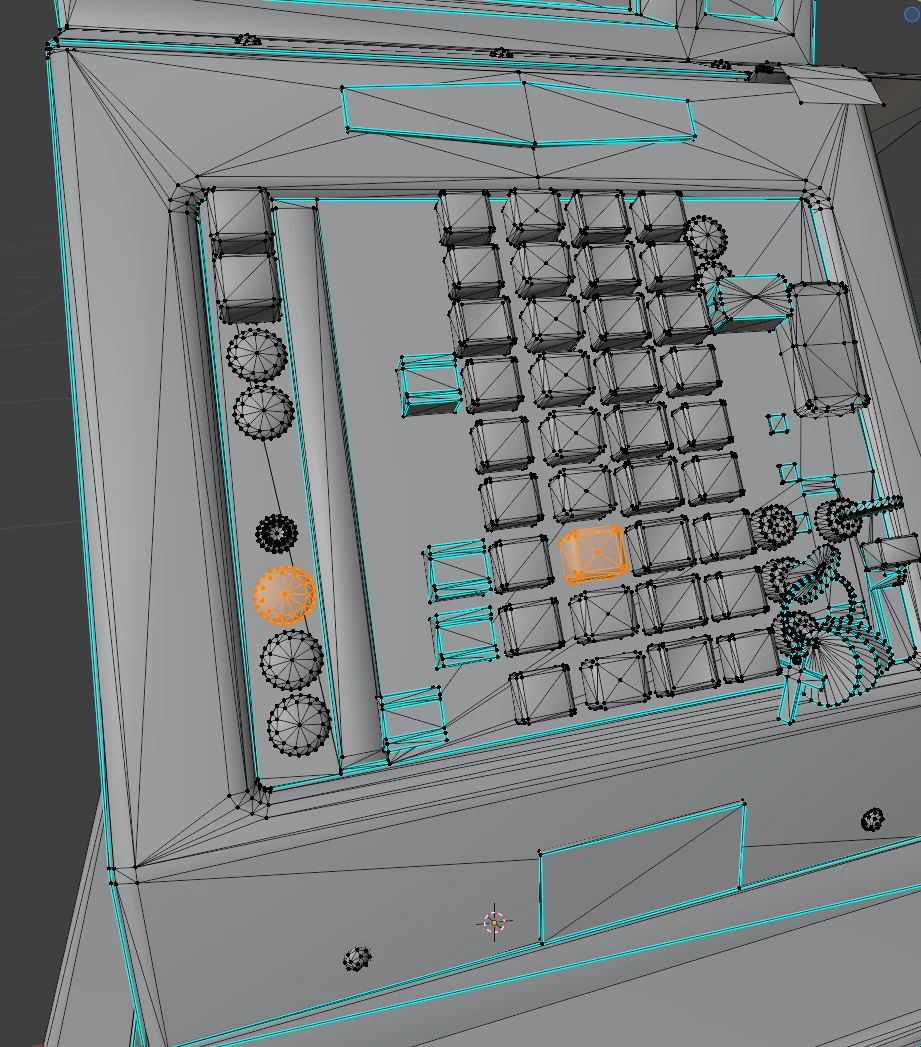
All buttons and screws on the model are disconnected from the main body of the asset. This makes it a good candidate for part removal.
Part remover
The simplest way to access the part remover is from the reduction pipeline. We create a new reduction pipeline in the Simplygon UI by clicking Add LOD Component → Advanced → Reduction.
In order to only run part removal we set ReductionTargetTriangleRatio to 1.0 under the ReductionSettings.
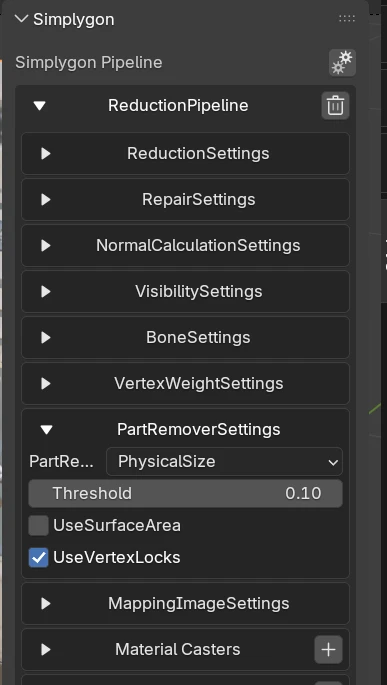
Under PartRemoverSettings, we can configure what criteria we should use to remove small parts.
- PartRemoverThresholdType
- Threshold is set to 0.1.
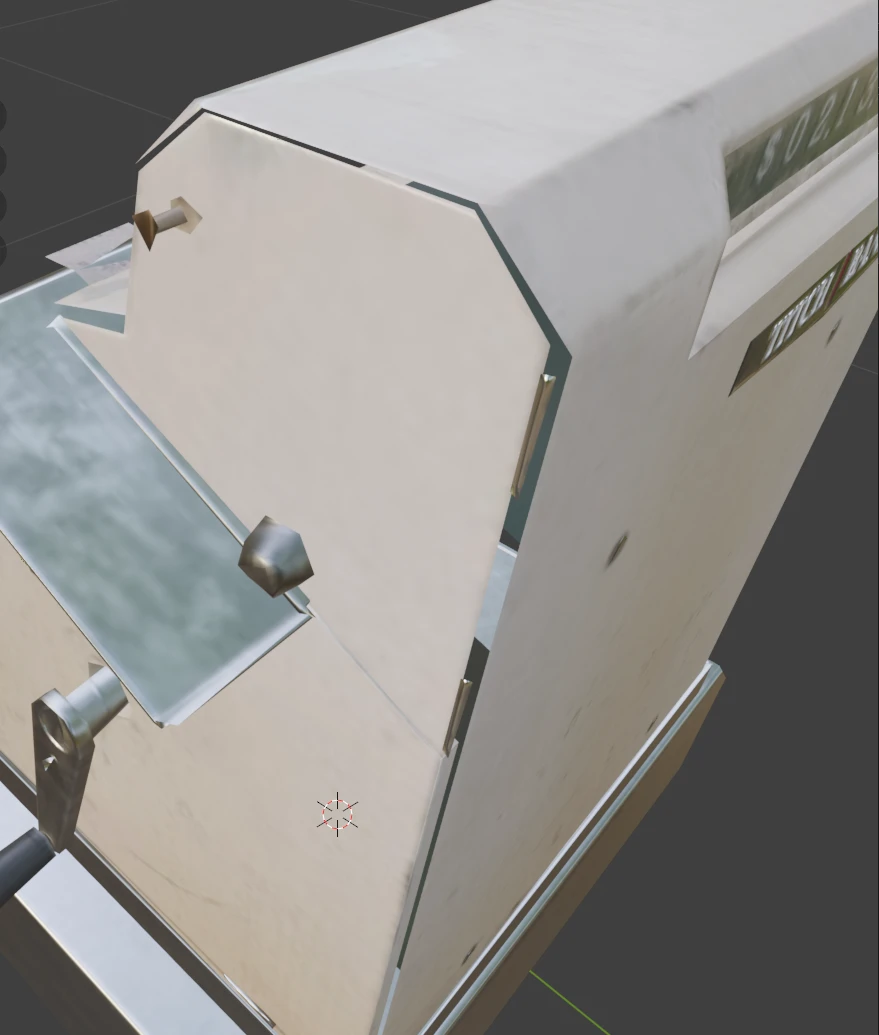
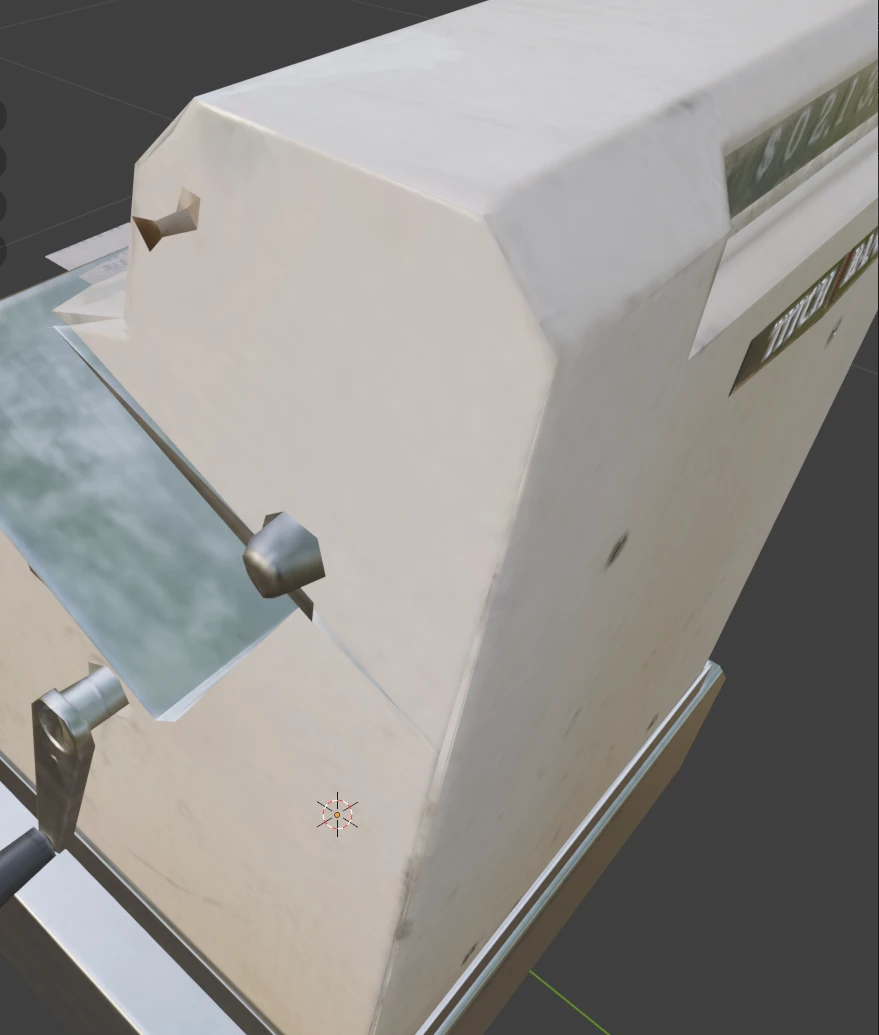
We then run the pipeline and get the following result.
All disconnected parts of the model that are smaller than 0.1 units are removed. This removes all buttons from our cash register model. We can also notice that part of the handle is removed as well, since it is smaller than the threshold. From this, we can learn that configuring part removal with large size thresholds can lead to gaps in our model.
Combining part removal with reduction
Now let us look at how to combine part removal with reduction. We will use the same asset as before.
Welding and T-junction
The asset we have consists of several parts that are not connected. This causes cracks when we reduce the asset. One way that can help with this in some cases is to use welding and T-junction removal. We use the following settings:
- TJunctDist = 0.002
- WeldDist = 0.002
Only reduction
In the blog What is the right reduction target for LOD creation?, we can read that in most use cases it is better to use on-screen size as a reduction target rather than triangle count or triangle ratio. We will therefore use on-screen size as our reduction target. We will use an on-screen size of 100 pixels as our target.
Let us first see result of only using on-screen size reduction without part removal.
If we look closely at the result, we can see that some of the buttons and screws have been reduced to very small triangles but are still present in the model. Ensuring that these get removed completely is where part removal comes in.
With part removal
Now let us combine on-screen size reduction with part removal. Since we use on-screen size as our reduction target, it makes sense to also use on-screen size as our part removal criteria.
We still have a reduction target of on screen size 100. We want the part removal to be a bit more aggressive, so we set the part removal threshold to 33% of the reduction target, i.e. 33 pixels.
This is the resulting model. From afar, it looks similar to the previous one.

But if we look closer, we can see that all small parts like screws and small buttons have been removed.
Results
Now, let us compare the results of the different approaches.
| Asset | Reduction target | Part removal | Triangle count |
|---|---|---|---|
| Original | - | - | 9.9 k |
| Part removal only | Triangle ratio 1.0 | Physical size 0.1 | 2.2 k |
| Reduction only | OnScreenSize 100 | - | 2.2 k |
| Reduction with part removal | OnScreenSize 100 | OnScreenSize 33 | 1.8 k |
We can see that only running part removal did remove a lot of the complexity from the asset, but at the cost of removing many of the details. The effectiveness of this also depends on how the model is constructed. The use case for only using part removal is limited to mesh cleanup operations, like removing all screws from a model. In most realistic cases, we do not only want to remove small parts, but also reduce the complexity of the model.
The reducer works on the existing topology of the model. A well-connected model will yield better results when reduced than one consisting of a lot of disconnected parts. This is where the part remover comes in—it allows us to clean up the model before reduction.
It is important to notice that this is not a silver bullet. As we noticed in our part removal only example, we can get gaps in the model where parts have been removed. Therefore, our model should be constructed in such a way that the base model is well-connected without leaving gaps if small parts are removed.